
Selecting the right earth auger for your garden starts with understanding your soil and knowing the size and depth of the holes you need. Consider the tasks you want to complete.
Tip: Test your soil before buying. You will find the process easy when you focus on these details.
Key Takeaways
-
Know your soil type before picking an earth auger. Clay soil needs more power. Sandy soil is easier to dig.
-
Pick the right auger bit size for your job. Use small bits, like 2-3 inches, for bulbs. Use big bits, 4 inches or more, for shrubs and posts.
-
Think about ergonomic features such as Power-GRIP handles. These help lower strain and make digging more comfortable.
Earth Auger Basics
What Is an Earth Auger?
You use an earth auger to dig holes in the ground quickly and efficiently. This tool features a spiral blade that rotates to remove soil, making it easier to create holes for planting or setting posts. The main mechanical components work together to help you dig with less effort.
|
Component |
Function |
|---|---|
|
Feed Screw |
Pulls soil upward and outwards during operation. |
|
Cutting Lip |
Cuts into the soil first. |
|
Spur |
Assists with cutting at the bottom of the auger. |
|
Twist |
Rotating blades lift and remove soil from the hole. |
|
Shank |
Connects the tang to the blades and moves soil. |
|
Tang |
Connects the auger to the machine powering it. |
The materials used in earth auger construction affect how long your tool lasts.
|
Material Type |
Description |
Impact on Durability |
|---|---|---|
|
Steel |
Commonly used, with types like stainless and carbon steel. |
Durability varies by quality and type. |
|
Ultra-hard materials |
Tips or cores made from diamond or similar materials. |
Greatly increases durability. |
Main Uses in the Garden
You can use an earth auger for many gardening tasks.
-
Planting trees and shrubs
-
Creating holes for bulbs and vegetables
-
Setting fence posts
-
Making precise holes for plants that need specific depths and diameters
Earth augers make planting much faster. Some gardeners say they can plant up to ten times quicker than with a shovel. You can dig while standing upright, which reduces strain on your back and arms. This design helps you work longer without feeling tired.
Assessing Your Needs
Before you choose an earth auger, think about your garden’s soil conditions. Clay soils are harder to dig than sandy soils. You should also consider the size and depth of the holes you want.
|
Factor |
Description |
|---|---|
|
Soil composition and type |
Clay is dense and tough; sand is easier to dig. |
|
Machine capacity |
Power and torque affect digging ability. |
|
Operator expertise |
Skill helps you dig deeper and more accurately. |
Tip: Use sharp earth auger bits for better performance and less drag. Always mark underground utility lines before you start digging.
You can choose earth auger bits based on your project:
-
For small holes (2-4 inches), use a 2- or 3-inch bit.
-
For medium holes (4-6 inches), pick a 4- or 6-inch bit.
Earth augers work best when you match the tool and bits to your soil conditions and project needs.
Types of Earth Auger Bits

Standard vs Tapered Bits
You will find two main types of earth auger bits for gardening: standard and tapered. Each design suits different soil conditions and tasks. Standard bits have flat or slightly pointed teeth. These work well in loose soils and for general digging. Tapered bits feature aggressive, pointed teeth. You should use these for rocky, compacted, or frozen ground. Tapered bits often use reinforced materials for extra durability.
|
Feature |
Standard Earth Auger Bits |
Tapered Earth Auger Bits |
|---|---|---|
|
Cutting Teeth Design |
Flat or slightly pointed |
Tapered for aggressive cutting |
|
Material |
Standard for softer soils |
Reinforced for durability |
|
Application Suitability |
Looser soils, general digging |
Rocky, compacted, frozen ground |
Choosing the Right Bit for Your Soil
Soil type plays a big role when you select earth auger bits. Clay soils are dense and heavy. You need a heavy-duty drill with low RPM and high torque. Sandy soils are easier to drill but can wear down bits quickly. Variable speed settings help you control the drill. Loamy soils are ideal for drilling. You can use everyday or heavy-duty drills for efficient work.
|
Soil Type |
Characteristics |
Recommended Auger Features |
|---|---|---|
|
Clay |
Dense, heavy, needs high torque |
Heavy-duty drill, low RPM, high torque |
|
Sandy |
Abrasive, easy to drill, causes wear |
Variable speed for balance and control |
|
Loamy |
Mix of sand, silt, clay, easy to drill |
Everyday or heavy-duty drill |
You may want to use spiral core bits for clay, sandy, or mixed soils. These bits clean themselves and cut through compacted clay. Heavy-duty carbide-tipped aerator bits work best in rocky or hardpan soil. Hollow tine aerator bits suit dense clay, while solid tine coring attachments are good for sandy soils.
Bit Size for Different Projects
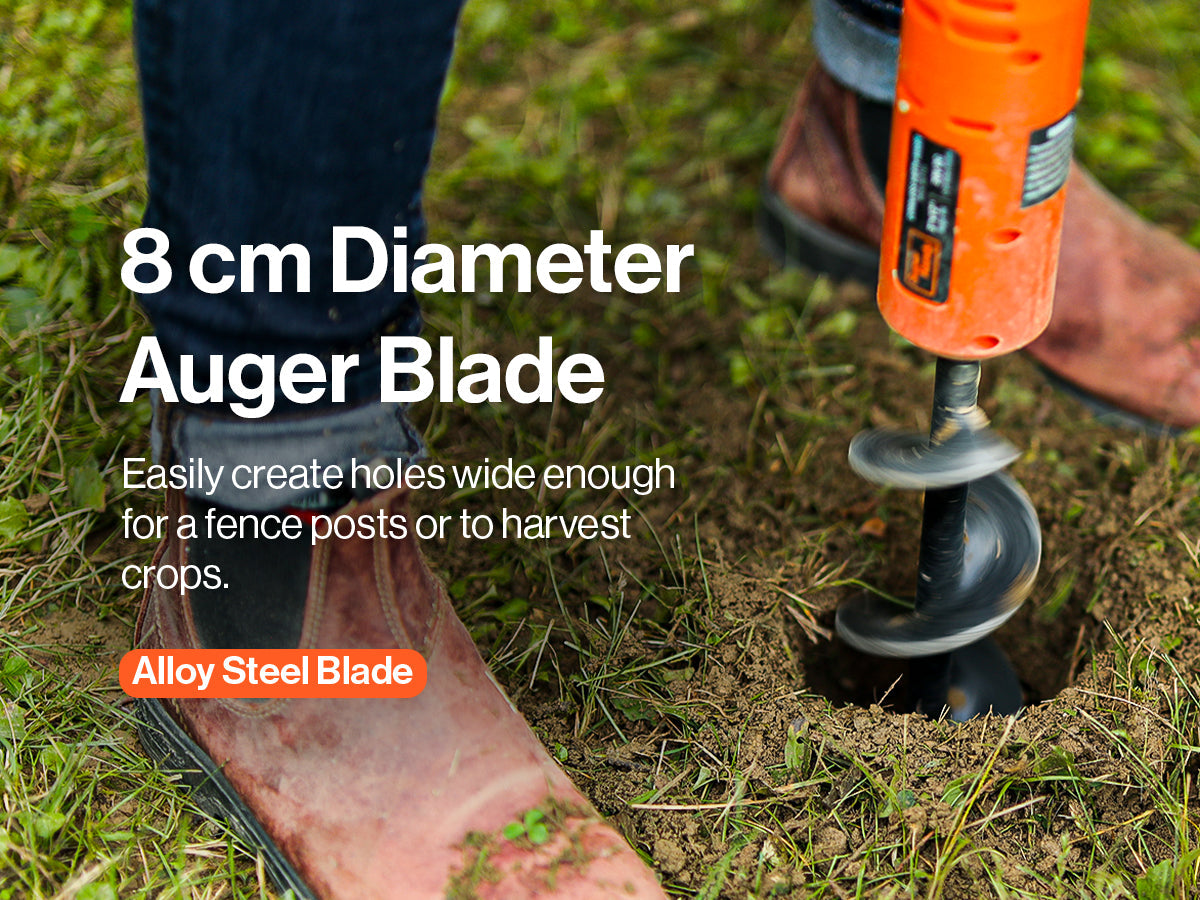
The size of earth auger bits affects how easy they are to handle and what jobs you can do. Smaller bits, such as 2- or 3-inch, are perfect for planting plugs and bulbs. You can use 4-inch or larger bits for burying stakes, setting posts, or planting shrubs. Larger bits suit deeper or wider holes, like those needed for fence posts or big plants.
|
Auger Diameter |
Recommended Uses |
|---|---|
|
4" & 5" |
Large bulbs, shrubs, fence post digging |
|
7" |
Multiple bulbs, fence posts, support posts |
|
8" & 9" |
1-gallon and 2-gallon plants, large post holes |
-
A 2- or 3-inch earth auger bit is easy to handle and suits small planting jobs.
-
You should choose a 4-inch or larger bit for bigger tasks like shrubs or posts.
You will find that understanding the different types of earth auger bits helps you match the right tool to your soil and project needs.
Choose the Right Earth Auger
When picking an earth auger, think about your soil. You also need to know how many holes you want. The size of the holes is important too. Pick a tool that fits your job. You might plant trees or put in fence posts. Some people use augers for deck footings. Check your soil before you start digging. This step saves time and keeps you from getting tired.
Manual or Powered Options
You can pick a manual or powered earth auger. Manual augers are good for small jobs and soft soil. You need to use more strength with these tools. Digging takes longer with a manual auger. Powered augers work faster and dig tough soil. These machines are best for big jobs and hard ground.
-
Manual augers need more effort from you.
-
Powered augers are quick and save time.
-
Manual post hole diggers are good for small jobs but hard work.
-
Gas-powered augers are strong and fast for big tasks.
If you need to dig lots of holes, use a powered auger. Powered augers are also good for hard soil. For small jobs, a manual auger is easy to use and care for.
Power and Torque Considerations
Power and torque change how well your auger works. Soft soils like sand need less torque. Medium soils like clay need more torque. Hard or rocky soils need the most torque.
-
Soft soils need little torque.
-
Medium soils need some torque.
-
Hard or rocky soils need high torque.
Manufacturers show torque ratings for augers. Match the torque to your job. For heavy clay, use a strong auger with high torque. Sharp cutting edges help in clay. For rocky soil, pick a tough auger with carbide teeth.
|
Torque Range (ft-lbs) |
Soil Type |
|---|---|
|
1,500 - 3,000 |
Soft, sandy soil |
|
3,000 - 7,500 |
Clay, loose gravel, some rocky |
|
7,500+ |
Dense rock, frozen ground, heavy-duty drilling |
A strong drill with low speed and high torque is best for clay. High torque is needed for rocky ground. Always match your auger to your soil and hole depth.
Ergonomic and User-Friendly Features
Look for features that make digging easier. Handles with Power-GRIP or Power-FLEX help you hold the auger. These handles also lower shaking and make you feel less tired. These features keep you safe and comfortable.
|
Ergonomic Feature |
Benefit |
|---|---|
|
Power-GRIP Handle |
Lowers shaking, kickback, and tiredness. |
|
Power-FLEX Handle |
Gives you more control and balance. |
|
Overall Design |
Makes digging safer and more comfortable. |
Pick an auger with controls you can adjust. A balanced design helps you work longer. You want a tool that is easy and safe to use.
Tip: Always stay safe when using an earth auger. Wear gloves and eye protection. Check for pipes or wires before digging.
Comparing Models and Reviews
When you look at auger models, check the bit size and length. Look at the powerhead type and if it fits your soil. The number and depth of holes matter too. Safety is important, especially with big augers.
|
Criteria |
Description |
|---|---|
|
Auger Bit Diameter |
Pick the right bit size for your holes. |
|
Auger Bit Length |
This tells you how deep you can dig. |
|
Powerhead Type |
Engine size matters; small for home use, big for pros. |
|
Soil Type |
Hard soil needs a stronger auger. |
|
Project Size |
The number and size of holes affect your choice. |
|
Safety Considerations |
Think about weight and torque; get help for big augers. |
Read reviews before you buy. After-sales help is important too. Pick brands that give you technical support and spare parts. Good service keeps your auger working and saves time.
|
After-sales Support Option |
Impact on Long-term Satisfaction |
|---|---|
|
Technical Help |
Helps you fix problems fast and keeps work on track. |
|
Components Availability |
Makes repairs quick and stops delays. |
|
Maintenance and Repair Services |
Keeps your auger working longer and stops breakdowns. |
|
Training and Certification |
Helps you use your auger safely and well. |
Choosing the right earth auger stops you from using the wrong tool. You also stay safe by following the rules. Always match your auger and bit to your job. This makes sure you get the right holes for your project. You will find that the right auger makes gardening much easier and faster.
To choose the ideal earth auger, follow these steps:
-
Define your main task.
-
Assess your soil type.
-
Select a suitable power source.
-
Pick the right auger size and depth.
-
Check ease of use and maintenance.
Gardeners say the correct auger speeds up planting, reduces strain, and makes gardening more enjoyable. 🌱
FAQ
How do you maintain your earth auger?
Clean the auger after each use. Check for loose bolts. Oil moving parts. Store the tool in a dry place to prevent rust.
Tip: Regular maintenance helps your auger last longer.
What safety gear should you wear when using an earth auger?
Wear gloves, sturdy boots, and eye protection. You should also use ear defenders if you operate a powered auger.
|
Safety Gear |
Purpose |
|---|---|
|
Gloves |
Protect hands |
|
Boots |
Shield feet |
|
Eye Protection |
Guard eyes |
|
Ear Defenders |
Reduce noise |
Which auger bit suits planting bulbs?
You should use a 2-inch or 3-inch bit for bulbs. Smaller bits make precise holes and help you plant quickly.
Note: Always match bit size to your plant type.