
Introduction: Why Choosing the Right Auger Matters
An earth auger is an efficient tool designed to bore holes in the ground with minimal effort. Whether it’s for landscaping, construction, or soil sampling, selecting the appropriate auger tailored to soil type, project scale, and power source can make operations smoother, faster, and safer. This guide walks you through everything you need to consider.
1. Define Your Purpose
Start by identifying your project’s requirements:
-
Small-scale gardening: Use a compact auger (approx. 2–3 inches) for planting bulbs or seedlings.
-
Medium landscaping: Opt for a 4–7 inch bit—ideal for shrubs or tree planting.
-
Heavy-duty tasks: Use an 8–9 inch or larger auger for setting posts, mailboxes, or deep foundations.
-
Work height matters: Longer augers let you stand upright; shorter options may cause strain from kneeling.
2. Match Soil Conditions
Choose an auger that suits ground conditions:
-
Loose or sandy soil: A standard, lightweight auger will work.
-
Sticky or clayey ground: Requires more torque—choose a robust, reinforced model.
-
Rocky or frozen terrain: Go for heavy-duty augers with rugged blades or carbide tips.
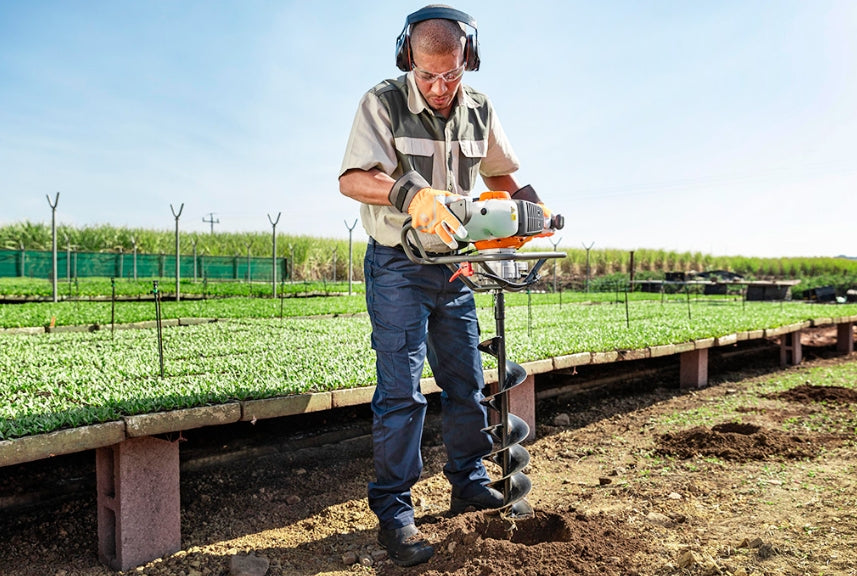
3. Choose the Appropriate Power Source
Different power setups offer distinct benefits:
-
Manual: Affordable and portable for light-duty work in soft soil.
-
Electric (corded or battery): Quiet and eco-friendly—great for residential areas and moderate tasks. Lightweight electric models (~2.8 kg) offer excellent portability.
-
Gas-powered (petrol): Delivers high torque for deep or dense ground—best for extended, rural, or heavy-duty work.
-
Hydraulic: Extremely powerful and suited for large-scale, professional operations—but heavier and more complex to maintain.
4. Evaluate Bit Size and Design
Match the bit specification to your task:
-
Small diameter (<50 mm): Ideal for planting or small stumps.
-
Medium (50–150 mm): Suitable for fencing or shrubs.
-
Large (>150 mm): Required for wells, pile foundations, or major construction.
Bit styles matter too:
-
Standard: Best for soft, uniform soil.
-
Rock & carbide tips: For tough, abrasive materials.
-
Combination bits: Handle mixed terrains—cut and crush simultaneously.
5. Prioritize Portability & Ergonomics
Consider user comfort and tool handling:
-
Weight: Lighter models reduce fatigue—key for DIY or weekend tasks.
-
Handle design: Wide, anti-vibration grips make a big difference in control and fatigue reduction.
6. Safety Practices & Routine Maintenance
Keeping safe and preserving your gear is essential:
-
Before use:
-
Wear gloves, safety glasses, and sturdy boots.
-
Check the area for buried cables or pipes.
-
Inspect the auger for loose components or damage.During operation:
-
Hold firmly with two hands and maintain a balanced stance.
-
Let the tool do the work—don’t force it.
-
Pause if you meet resistance or unusual vibration.
-
-
After use:
-
Clean off soil and debris.
-
Tighten fasteners, lubricate joints, check blades.
-
Store in a dry place. Change worn blades promptly.
-
7. Typical Applications at a Glance
| Application | Recommended Auger Type |
|---|---|
| Garden planting & sampling | Manual or light electric |
| Garden landscaping & fence posts | Medium electric or petrol |
| Large construction or post holes | Heavy-duty petrol or hydraulic |
| Rocky or frozen ground | Reinforced bits and high-torque models |
Earth augers streamline various tasks—from post installation and landscaping to scientific sampling and forestry operations.
Conclusion
Selecting the correct earth auger involves understanding your project’s scope, soil challenges, and preferred power source. By considering size, power, ergonomics, and safety, you’ll not only enhance performance but also extend the tool’s lifespan. Use this guide to make informed choices and dig with confidence.