
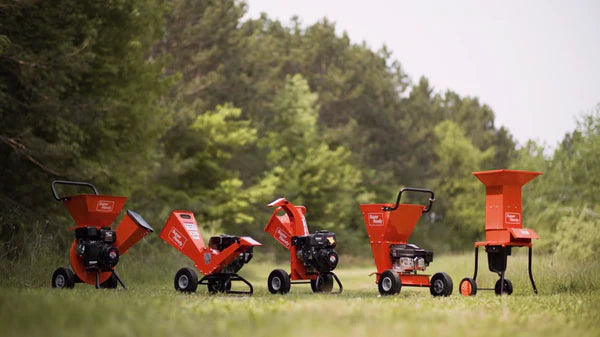
The Superhandy wood chipper changes yard waste into useful mulch. It can handle green wood branches up to 2 inches thick. Dry leaves and pine cones are also easy to process. As people care more about the environment, electric tools are popular. This wood chipper is eco-friendly and helps with garden care.
Setting Up the Superhandy Wood Chipper
Unboxing and Assembly Guide
Opening your Superhandy wood chipper box is simple. Start by carefully unpacking all the parts. Check the manual to make sure nothing is missing. You should find the main chipper body, wheels, handles, and other parts. Lay everything out so it’s easy to reach.
Follow the steps in the manual to put it together. First, attach the wheels to the bottom. This helps you move the chipper easily later. Then, fix the handles to the frame. Make sure all screws and bolts are tight. Lastly, connect the hopper and chute. These guide materials into and out of the chipper.
Take your time while assembling. A properly built chipper works better and lasts longer. Keep the manual nearby for help.
Essential Safety Precautions
Safety is very important when using a wood chipper. Before starting, check for loose or damaged parts. Wear gloves, goggles, and strong shoes for protection. Avoid wearing loose clothes that could get caught.
Make sure the safety feature on the chipper works well. This stops the machine if there’s a problem. Test it before every use.
Keep kids and pets far from the chipper when it’s running. Stand to the side when putting materials into the hopper. Never put your hands inside the machine while it’s on.
Choosing the Best Location for Your Wood Chipper
Picking the right spot for your chipper is important for safety. Use a flat, steady surface to stop it from tipping over. Don’t place it on bumpy ground or loose stones.
Set the chipper in an open area with enough space to work. This makes it easier to add materials and collect the mulch. Keep it away from walls, fences, or anything in the way.
If you have an electric chipper, make sure there’s a power source nearby. Use an outdoor extension cord if needed. Avoid wet or damp spots to stay safe from electrical risks.
By setting up your Superhandy wood chipper properly, you’ll have a safe and smooth experience every time.
Operating the Superhandy Wood Chipper
Starting the Wood Chipper Safely
Check your wood chipper carefully before starting it. Look inside the hopper and chute for blockages. Make sure all screws and bolts are tight. If using an electric chipper, check the cord for damage. Plug it into a safe and working outlet.
Stand to the side when starting the machine. This keeps you safe from sudden movements. Turn the switch or press the start button, depending on your model. Listen for smooth running sounds. If it sounds strange, turn it off and check again.
Always start the chipper in an open space. Avoid small, closed areas to stop overheating. Following these steps keeps you safe and the chipper working well.
Feeding Materials into the Chipper
Get your materials ready before using the chipper. Cut branches into shorter pieces, under 2 inches thick. Clean off dirt and debris from leaves and pine cones. This protects the blades and helps the chipper work smoothly.
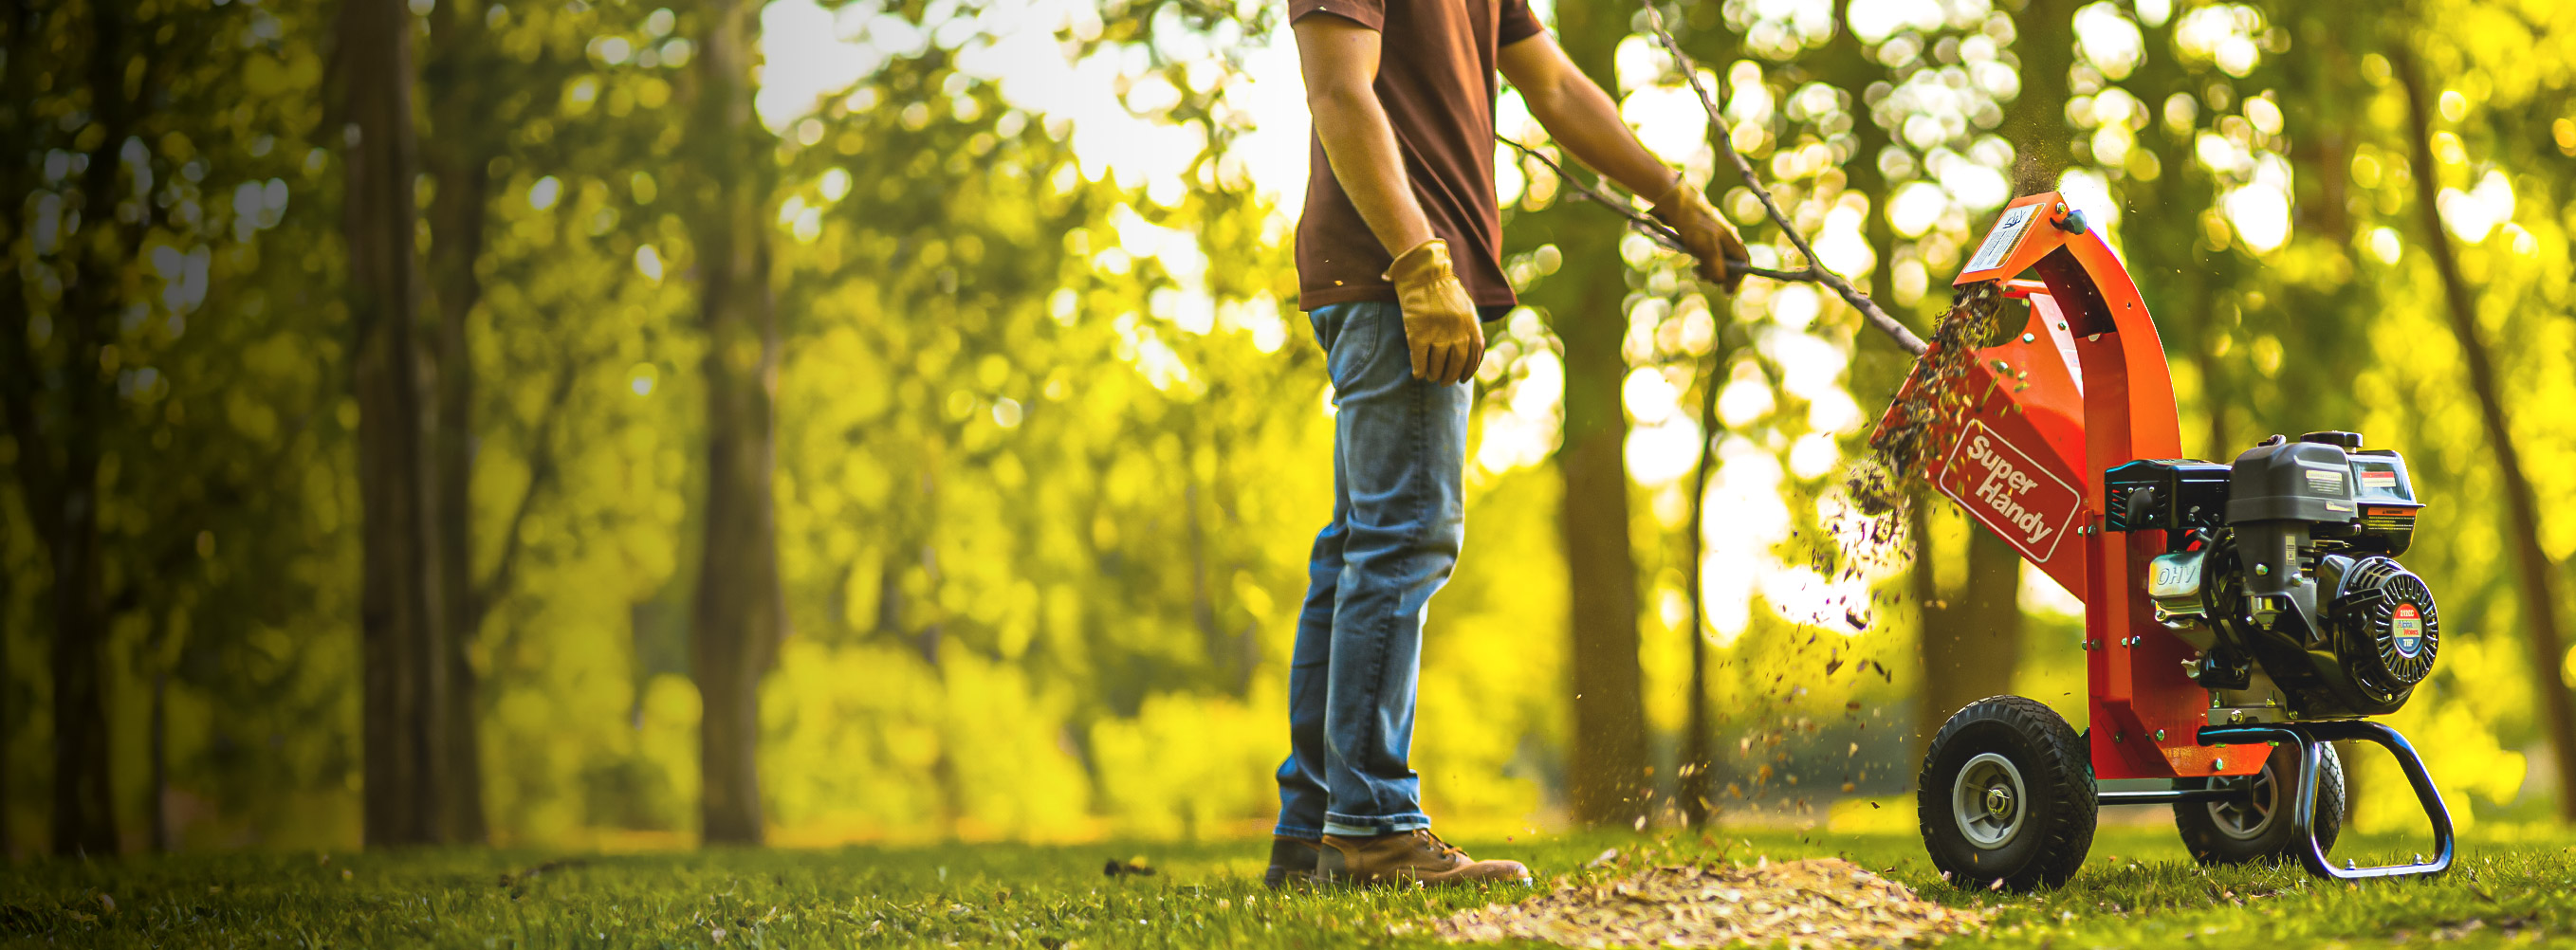
Put materials into the hopper slowly. Don’t overload the machine, as it can jam. Hold branches firmly and guide them in carefully. Always stand to the side while feeding materials to stay safe.
Mix green and dry materials for the best results. Green wood makes finer mulch, while dry leaves create lighter compost. Mixing them gives balanced mulch for your garden.
Managing and Collecting Chipped Output
After chipping, collect the mulch or compost properly. Use a strong bag or container to gather it. Place the container under the chute to avoid spills.
Cutting Insert |
Average Chip Length (mm) |
Chip Type |
|---|---|---|
E-M T9325 |
8.2 ± 0.7 |
Arch loose type |
PM 4325 |
< 4.1 |
Less efficient |
E-MP3 WPP20S |
< 4.1 |
Less efficient |
The Superhandy chipper uses smart cutting tools for great results. It wastes less and works efficiently.
Spread the mulch evenly on garden beds or compost piles. Mulch keeps soil moist and stops weeds. Compost adds nutrients to the soil, helping plants grow better.
By collecting and using the output well, you make the most of your chipper. This helps create a healthy and eco-friendly garden.
Maintaining Your Superhandy Wood Chipper
Routine Maintenance Checklist
Taking care of your wood chipper helps it last longer. Follow these simple steps to keep it working well:
Inspect the Blades: Look at the blades after each use. Replace them if they are dull or damaged. Sharp blades make the chipper work better and easier.
Clean the Hopper and Chute: Clear out leaves and dirt from the hopper and chute. Use a brush or cloth to clean them properly.
Lubricate Moving Parts: Add oil to the wheels, handles, and other moving parts. This stops them from sticking and keeps everything running smoothly.
Check the Safety Mechanism for the Chipper: Test the safety feature often to make sure it works. A good safety system keeps you safe while using the chipper.
Inspect Electrical Components: For electric models, check the cord and plug for damage. Replace broken parts quickly to avoid electrical problems.
Do these checks every time you use the chipper to keep it in great shape.
Troubleshooting Common Issues
Sometimes, problems happen even with good machines. Knowing how to fix small issues can save time.
Jammed Materials: If the chipper gets stuck, turn it off and unplug it. Use a stick or tool to clear the blockage. Never use your hands to remove stuck materials.
Uneven Output: If the mulch looks uneven, the blades might be dull. Check them and replace if needed.
Machine Won’t Start: Make sure the power cord is plugged in properly. For petrol models, check the fuel and spark plug.
Overheating: Overheating happens if the chipper is in a tight space or overloaded. Use it in an open area and feed materials slowly.
Fixing these problems quickly keeps your chipper safe and working well.
Tips for Using the Superhandy Wood Chipper Effectively
Preparing Materials for Chipping
Getting materials ready helps your chipper work well. Follow these steps for better results:
Sort Your Materials: Group green wood, dry leaves, and pine cones separately. Mixing them later makes balanced mulch, but sorting first helps feeding easier.
Trim Branches: Cut branches into smaller pieces under 2 inches thick. This stops jams and keeps the chipper running smoothly.
Clean Off Dirt and Debris: Remove soil, stones, or other dirt from materials. This protects the blades and helps the chipper last longer.
Inspect for Foreign Objects: Look for nails, wires, or other non-organic items. These can harm the machine and make it unsafe.
Chipping improves material structure for garden use. It creates rough surfaces that stick better in soil or compost. Following these tips keeps your chipper in great shape and gives better results.
Maximising the Benefits of Chipped Material in Your Garden
Using chipped material wisely can make your garden healthier and eco-friendly. Here’s how to use it best:
Mulch Your Garden Beds: Spread chips evenly around plants. This keeps soil moist, stops weeds, and controls temperature.
Improve Soil Quality: Add chips to your compost pile. Some chips, like Miscanthus, break down well and add nutrients to the soil.
Enhance Drainage: Use chips in busy areas or outdoor spaces. They reduce water build-up and improve drainage, keeping the ground firm and clean.
The Superhandy chipper makes mulch that fits many garden needs. Whether mulching plants or improving soil, its output helps plants grow better and supports a greener garden.
Tip: Clear blockages quickly to keep the machine safe and efficient.
The Superhandy wood chipper turns garden waste into useful mulch. Follow this guide to use it safely and easily. This machine is simple to maintain and eco-friendly. It helps keep gardens tidy and plants healthy while supporting green gardening.